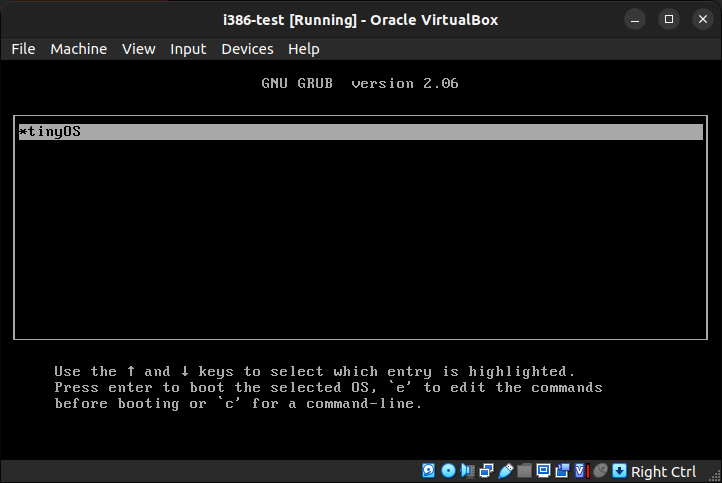
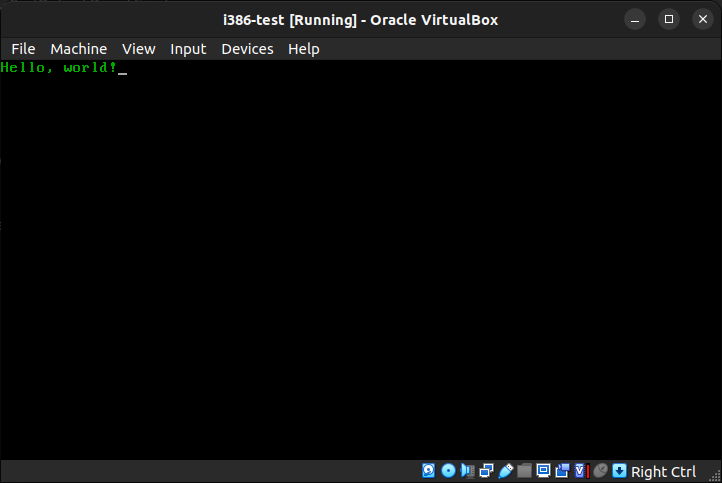
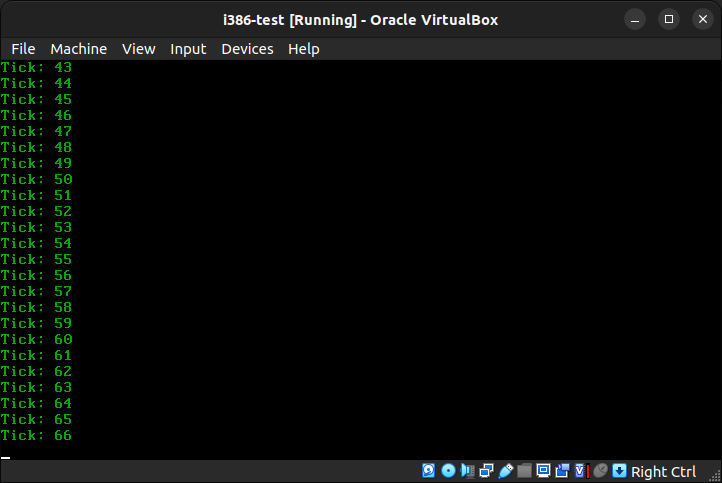
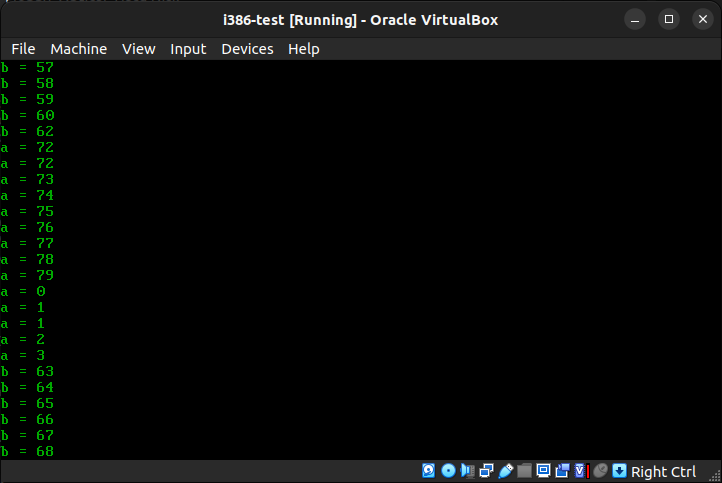
This project is a minimal monolithic kernel developed from scratch, based on JamesM's and Bran's Kernel Development tutorials. The goal of this project is to provide a hands-on learning experience in building a kernel, implementing core functionalities such as memory management, multitasking, and hardware interaction. The kernel is designed to be booted using GRUB and tested in a virtual machine (VM) environment.
-
Cross-compilation Toolchain: Built using GCC and Binutils targeting the i686-elf architecture.
-
GRUB Bootloader: Uses GRUB to create bootable ISO images, replacing traditional floppy booting methods.
-
Basic Kernel Output: Initial kernel prints "Hello, World!" to the screen in VGA text mode.
-
Memory Management: Implements paging and a basic heap for dynamic memory allocation.
-
Multitasking: Implements basic multitasking with process scheduling and context switching.
The development of the kernel is divided into several key sections, each focusing on a different aspect of operating system functionality. Below is a brief overview of the sections covered in the tutorials:
1. Genesis
The kernel starts by setting up a minimal boot environment. It includes bootloader configuration to transition the system from real mode to protected mode and displays the "Hello, World!" message as the first step.
2. The Screen
The screen output is handled through the VGA text mode, where characters are written directly to video memory. This provides a way to display messages on the screen and serves as a vital debugging tool during kernel development.
#include  "system.h"

int  main(void  *mboot_ptr) {
    printk("Hello World!");

    for (;;);
    return  0xDEADBABA;
}The Global Descriptor Table (GDT) and Interrupt Descriptor Table (IDT) are set up to manage memory segments and interrupts. The GDT ensures safe memory access, while the IDT handles hardware and software interrupts, such as timer interrupts and exceptions.
#include  "system.h"

int  main(void  *mboot_ptr) {
    asm  volatile ("int $0x3");

    for (;;);
    return  0xDEADBABA;
}Interrupts are enabled using the Programmable Interrupt Controller (PIC), and the Programmable Interval Timer (PIT) is configured to generate regular time-based interrupts. These interrupts are critical for managing multitasking and responding to hardware events.
#include  "system.h"
#include  "descriptor_tables.h"
#include  "timer.h"

int  main(void  *mboot_ptr) {
    init_descriptor_tables();
    init_timer(50);

    asm  volatile ("sti");

    for (;;);
    return  0xDEADBABA;
}
5. Paging
Paging is introduced to implement virtual memory, where virtual addresses are mapped to physical memory addresses using page tables. This allows the system to manage memory more effectively, providing isolation between processes and enabling the use of larger address spaces.
#include  "system.h"
#include  "descriptor_tables.h"
#include  "timer.h"
#include  "paging.h"

int  main(void  *mboot_ptr) {
    init_descriptor_tables();
    init_paging();

    asm  volatile ("sti");
    uint32_t  *ptr  = (uint32_t*)0xA0000000;
    uint32_t  do_page_fault  =  *ptr;
    printk("value = %d", do_page_fault);

    for (;;);
    return  0xDEADBABA;
}
6. The Heap
A simple memory allocator is implemented to manage dynamic memory allocation. This allows the kernel to allocate and free memory on the heap, enabling the creation of complex data structures and efficient memory management.
#include  "system.h"
#include  "descriptor_tables.h"
#include  "timer.h"
#include  "paging.h"
#include  "kmalloc.h"

int  main(void  *mboot_ptr) {
    init_descriptor_tables();
    init_paging();

    asm  volatile ("sti");

    uint32_t  *a  =  kmalloc(8);
    uint32_t  *b  =  kmalloc(8);
    uint32_t  *c  =  kmalloc(8);

    *a  =  10;
    *b  =  20;
    *c  =  *a  +  *b;

     printk("value = %d", *c);
     kfree(c);
     kfree(b);
     kfree(a);

     for (;;);
     return  0xDEADBABA;
}
7. Multitasking
Multitasking is implemented by setting up process scheduling and context switching. The kernel can now run multiple processes simultaneously using a basic scheduler.
To build the kernel, you need to set up a cross-compilation toolchain using GCC and Binutils targeting the i686-elf architecture. The process includes:
-
Building Binutils: Configure and install Binutils with support for the i686-elf architecture.
-
Building GCC: Compile GCC with i686-elf support and without standard C libraries.
-
Assembling Kernel Code: Use NASM to assemble the kernel's assembly code.
-
Creating Bootable ISO: Use GRUB and the
grub-mkrescuecommand to create a bootable ISO image with the kernel.
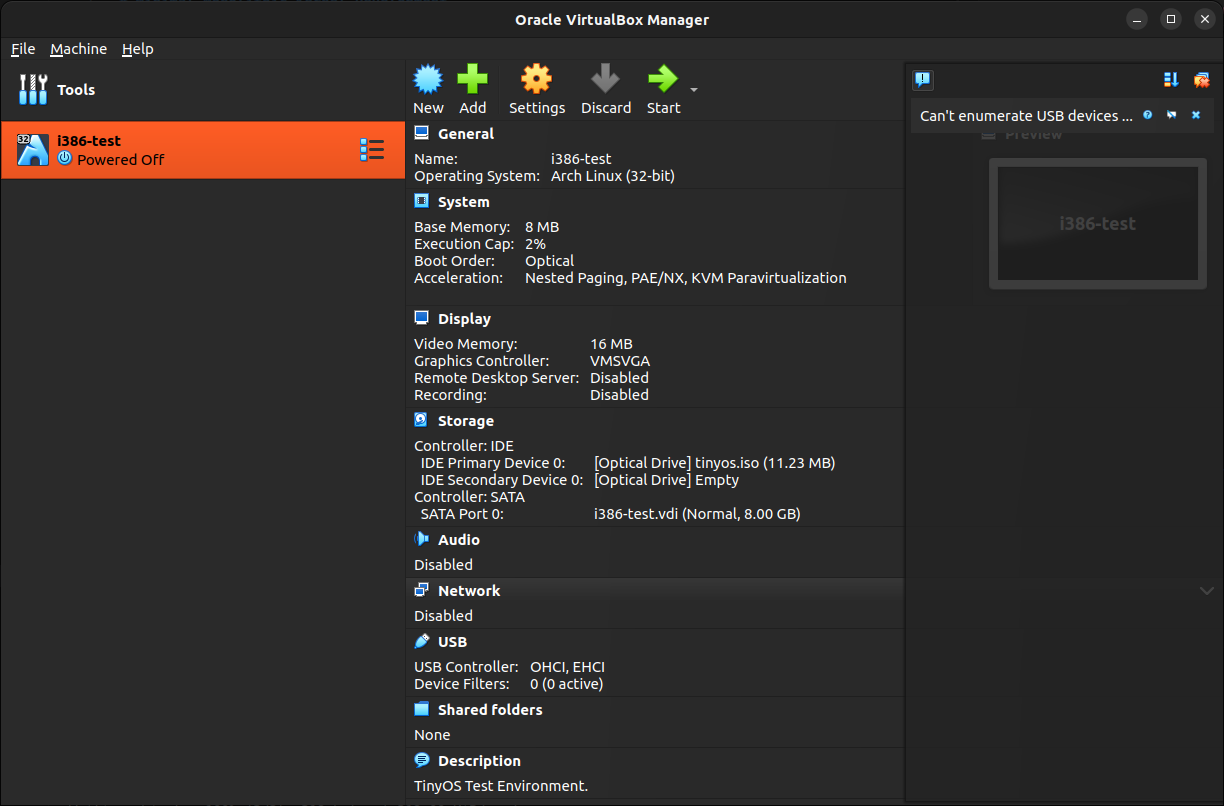
Once the kernel is built, it is tested in a VirtualBox virtual machine. The virtual machine is configured with:
- Linux (32-bit) as the OS type
- 8MB RAM
- CPU execution cap: approximately 2%
- An optical drive mounted with the bootable ISO image
This environment allows you to test the kernel without affecting your host system.
- Clone the repository:
git  clone  git@github.com:dilshan/mini-monolithic-kernel.git
cd mini-monolithic-kernel- Build the kernel and create the bootable ISO (
tinyos.iso):
make
./update_image.sh-
Start VirtualBox and create a new virtual machine. Mount the generated tinyos.iso file to the VM's CD/DVD drive and start the VM.
-
The kernel should boot, and you should see the output on the screen (e.g., "Hello, World!").
