Pico v0.2 Board
These are the instructions for building the STEM Payload board.
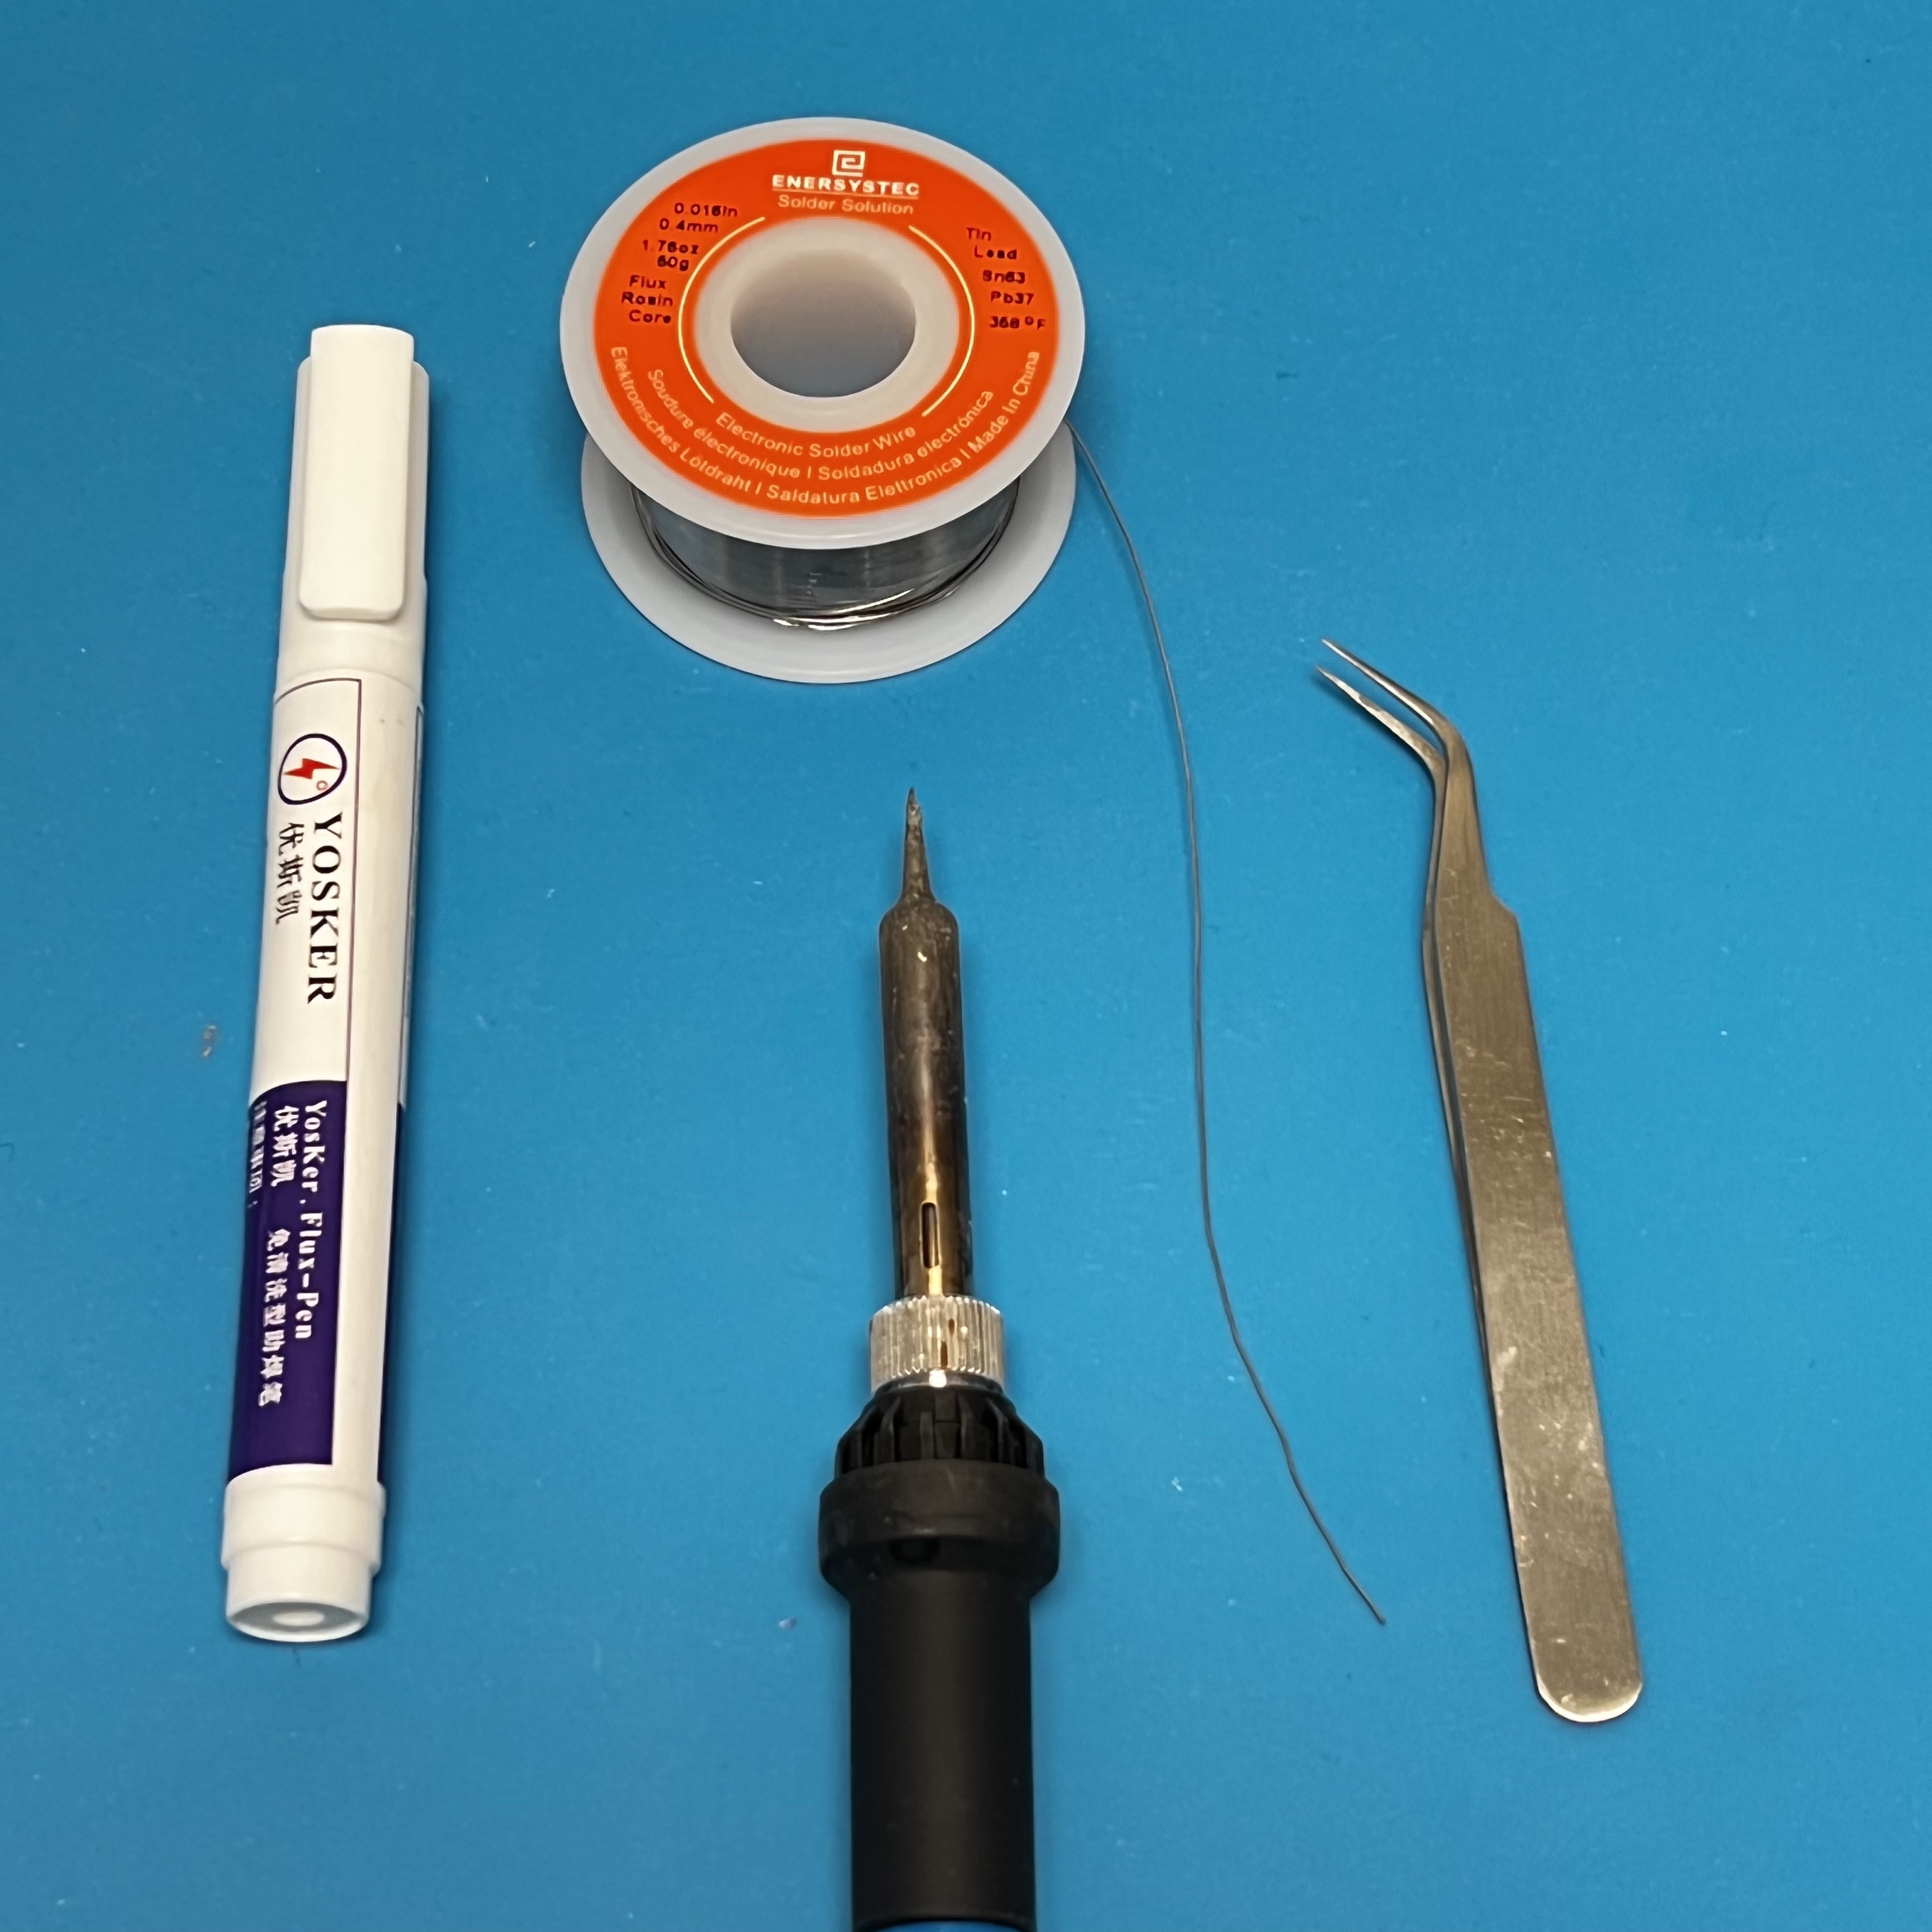
You will need these tools:
- Safety glasses (to protect eyes while soldering or trimming leads)
- Soldering iron with fine tip and very thin solder (I use lead-free solder, but leaded solder is easier to work with)
- Flux pen
- Tweezers
- Needle nose pliers (to bend leads and hold parts)
- Side cutters (to trim leads)
Other tools that are helpful:
- Blue mounting putty (to hold components in place while soldering)
The BOM has a sheet "By Steps" which lists the parts needed for each step in order. http://cubesatsim.org/bom If you have a Google account, you can make a copy of this spreadsheet ("File" then "Make a Copy") and check off each part as you install it.
For example, here is the checklist for this step:
Here is a video of the assembly part of this step:
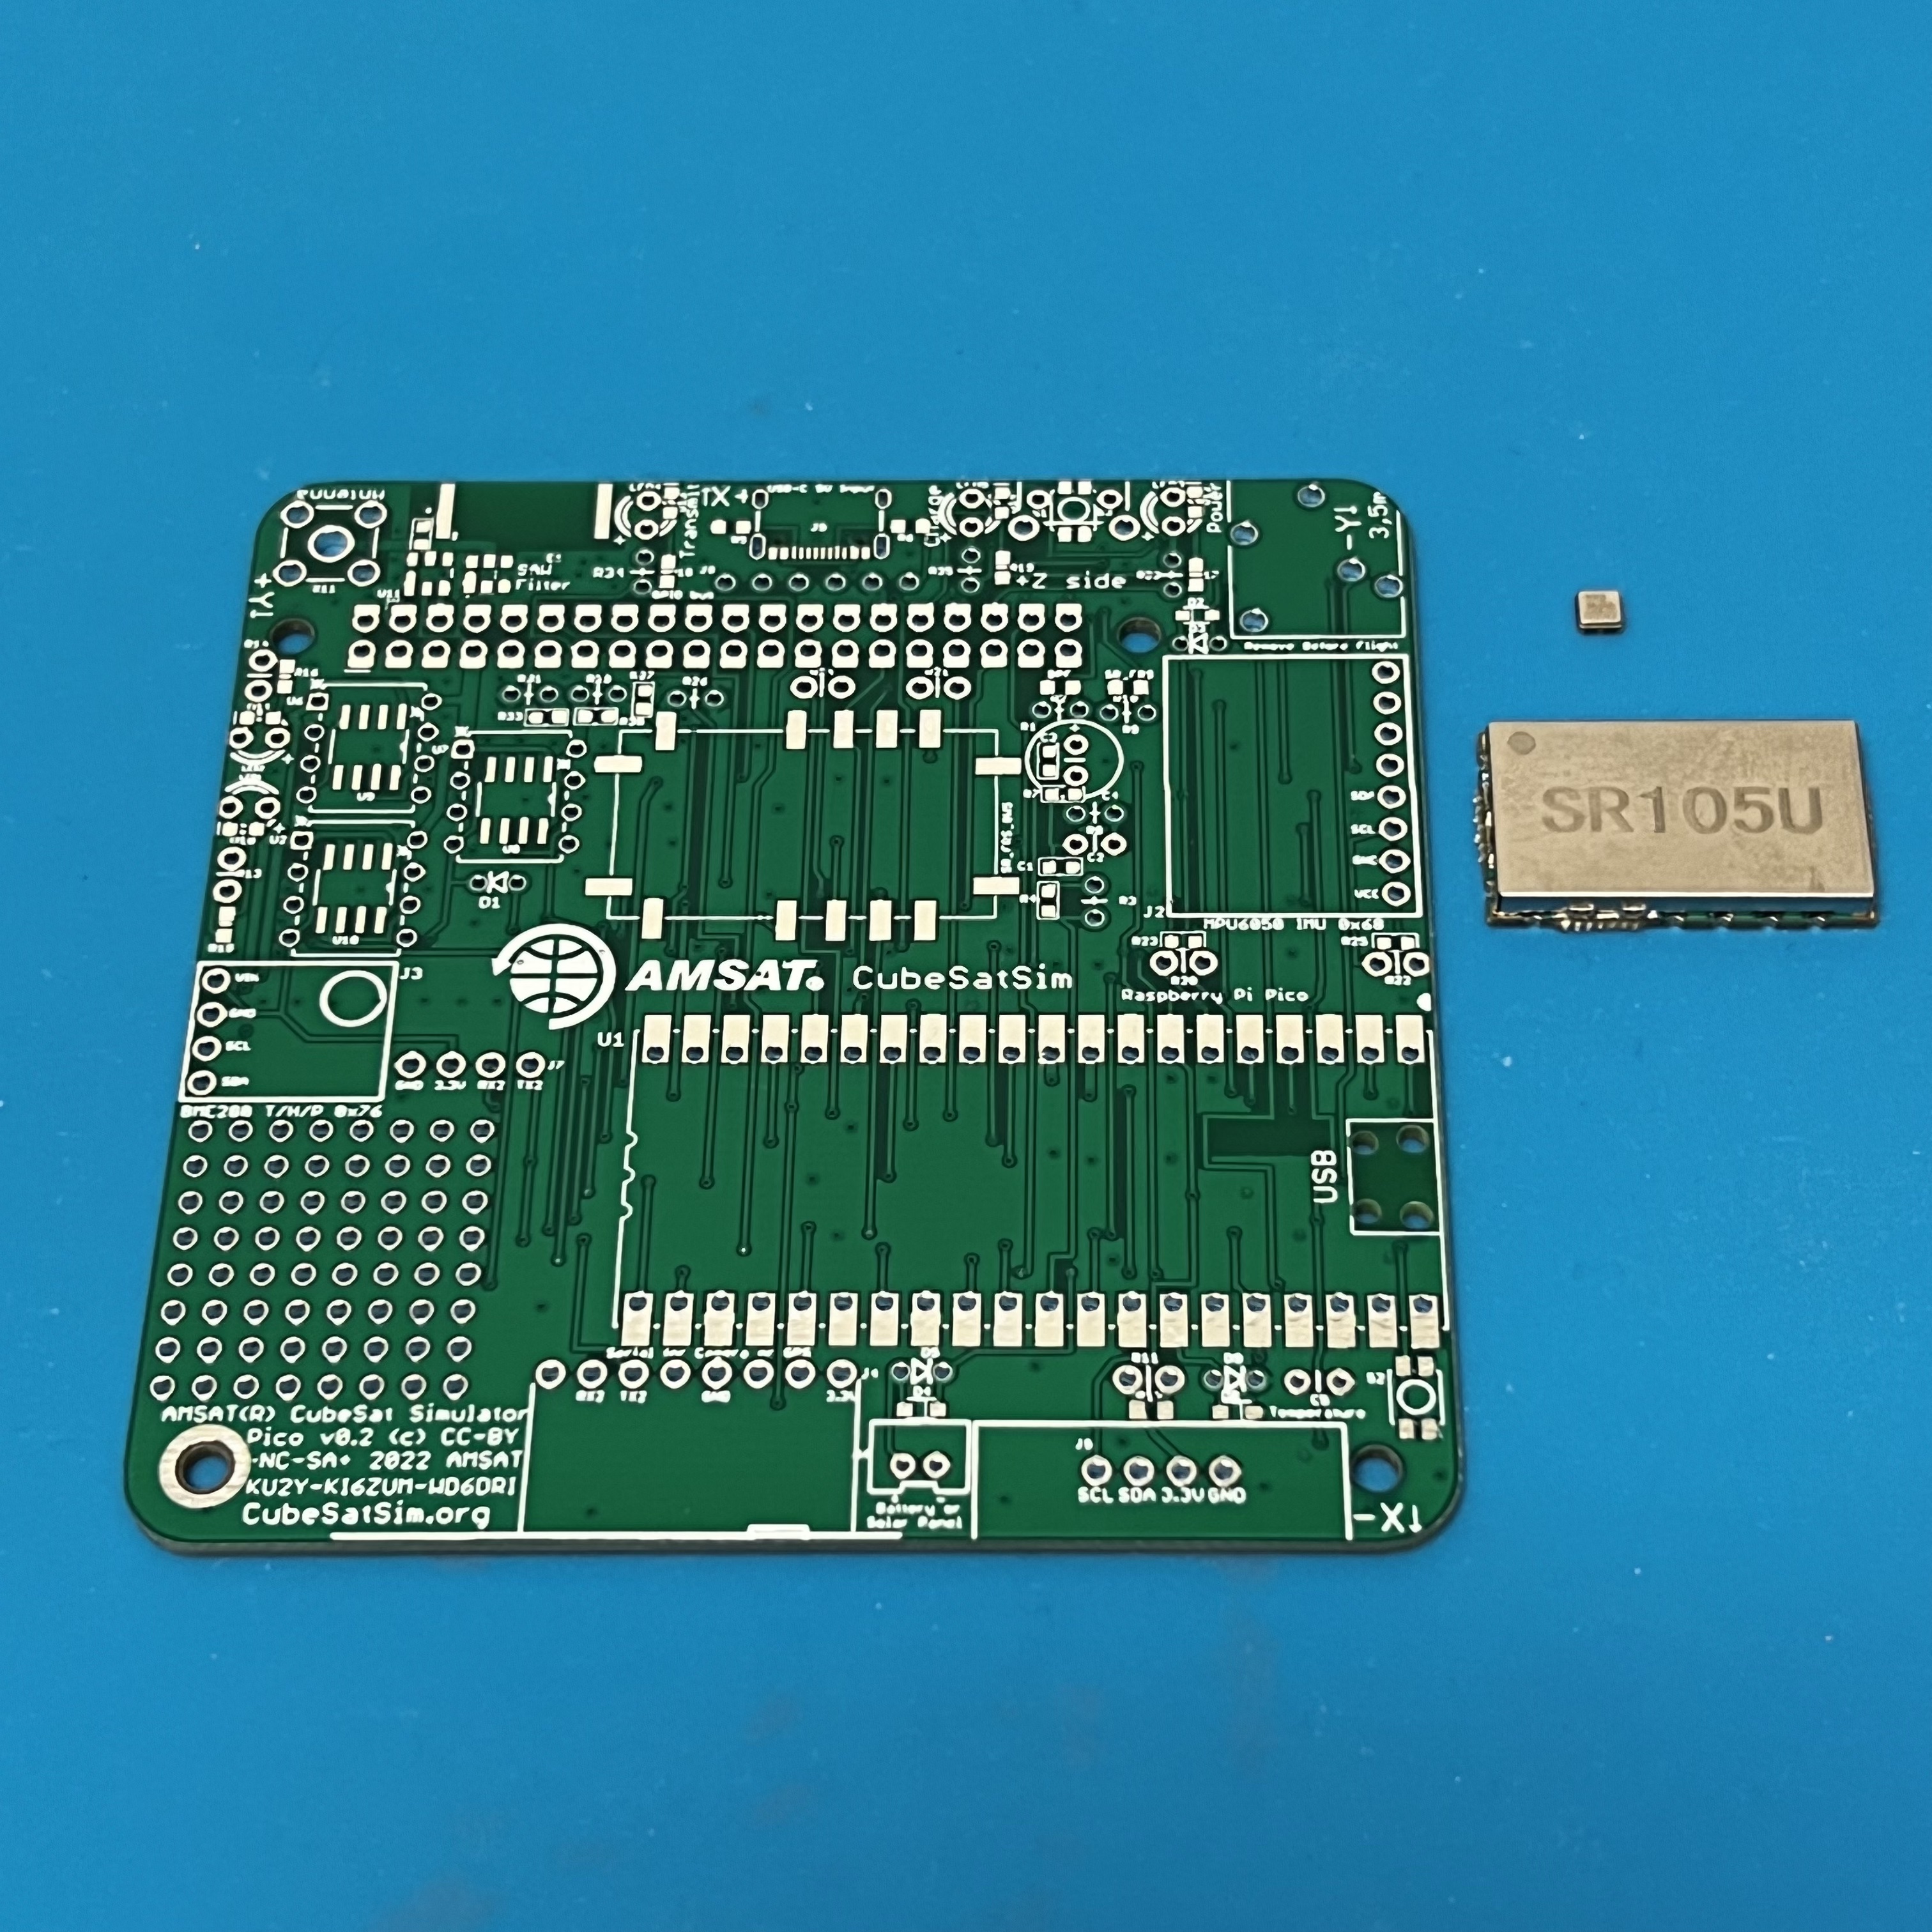
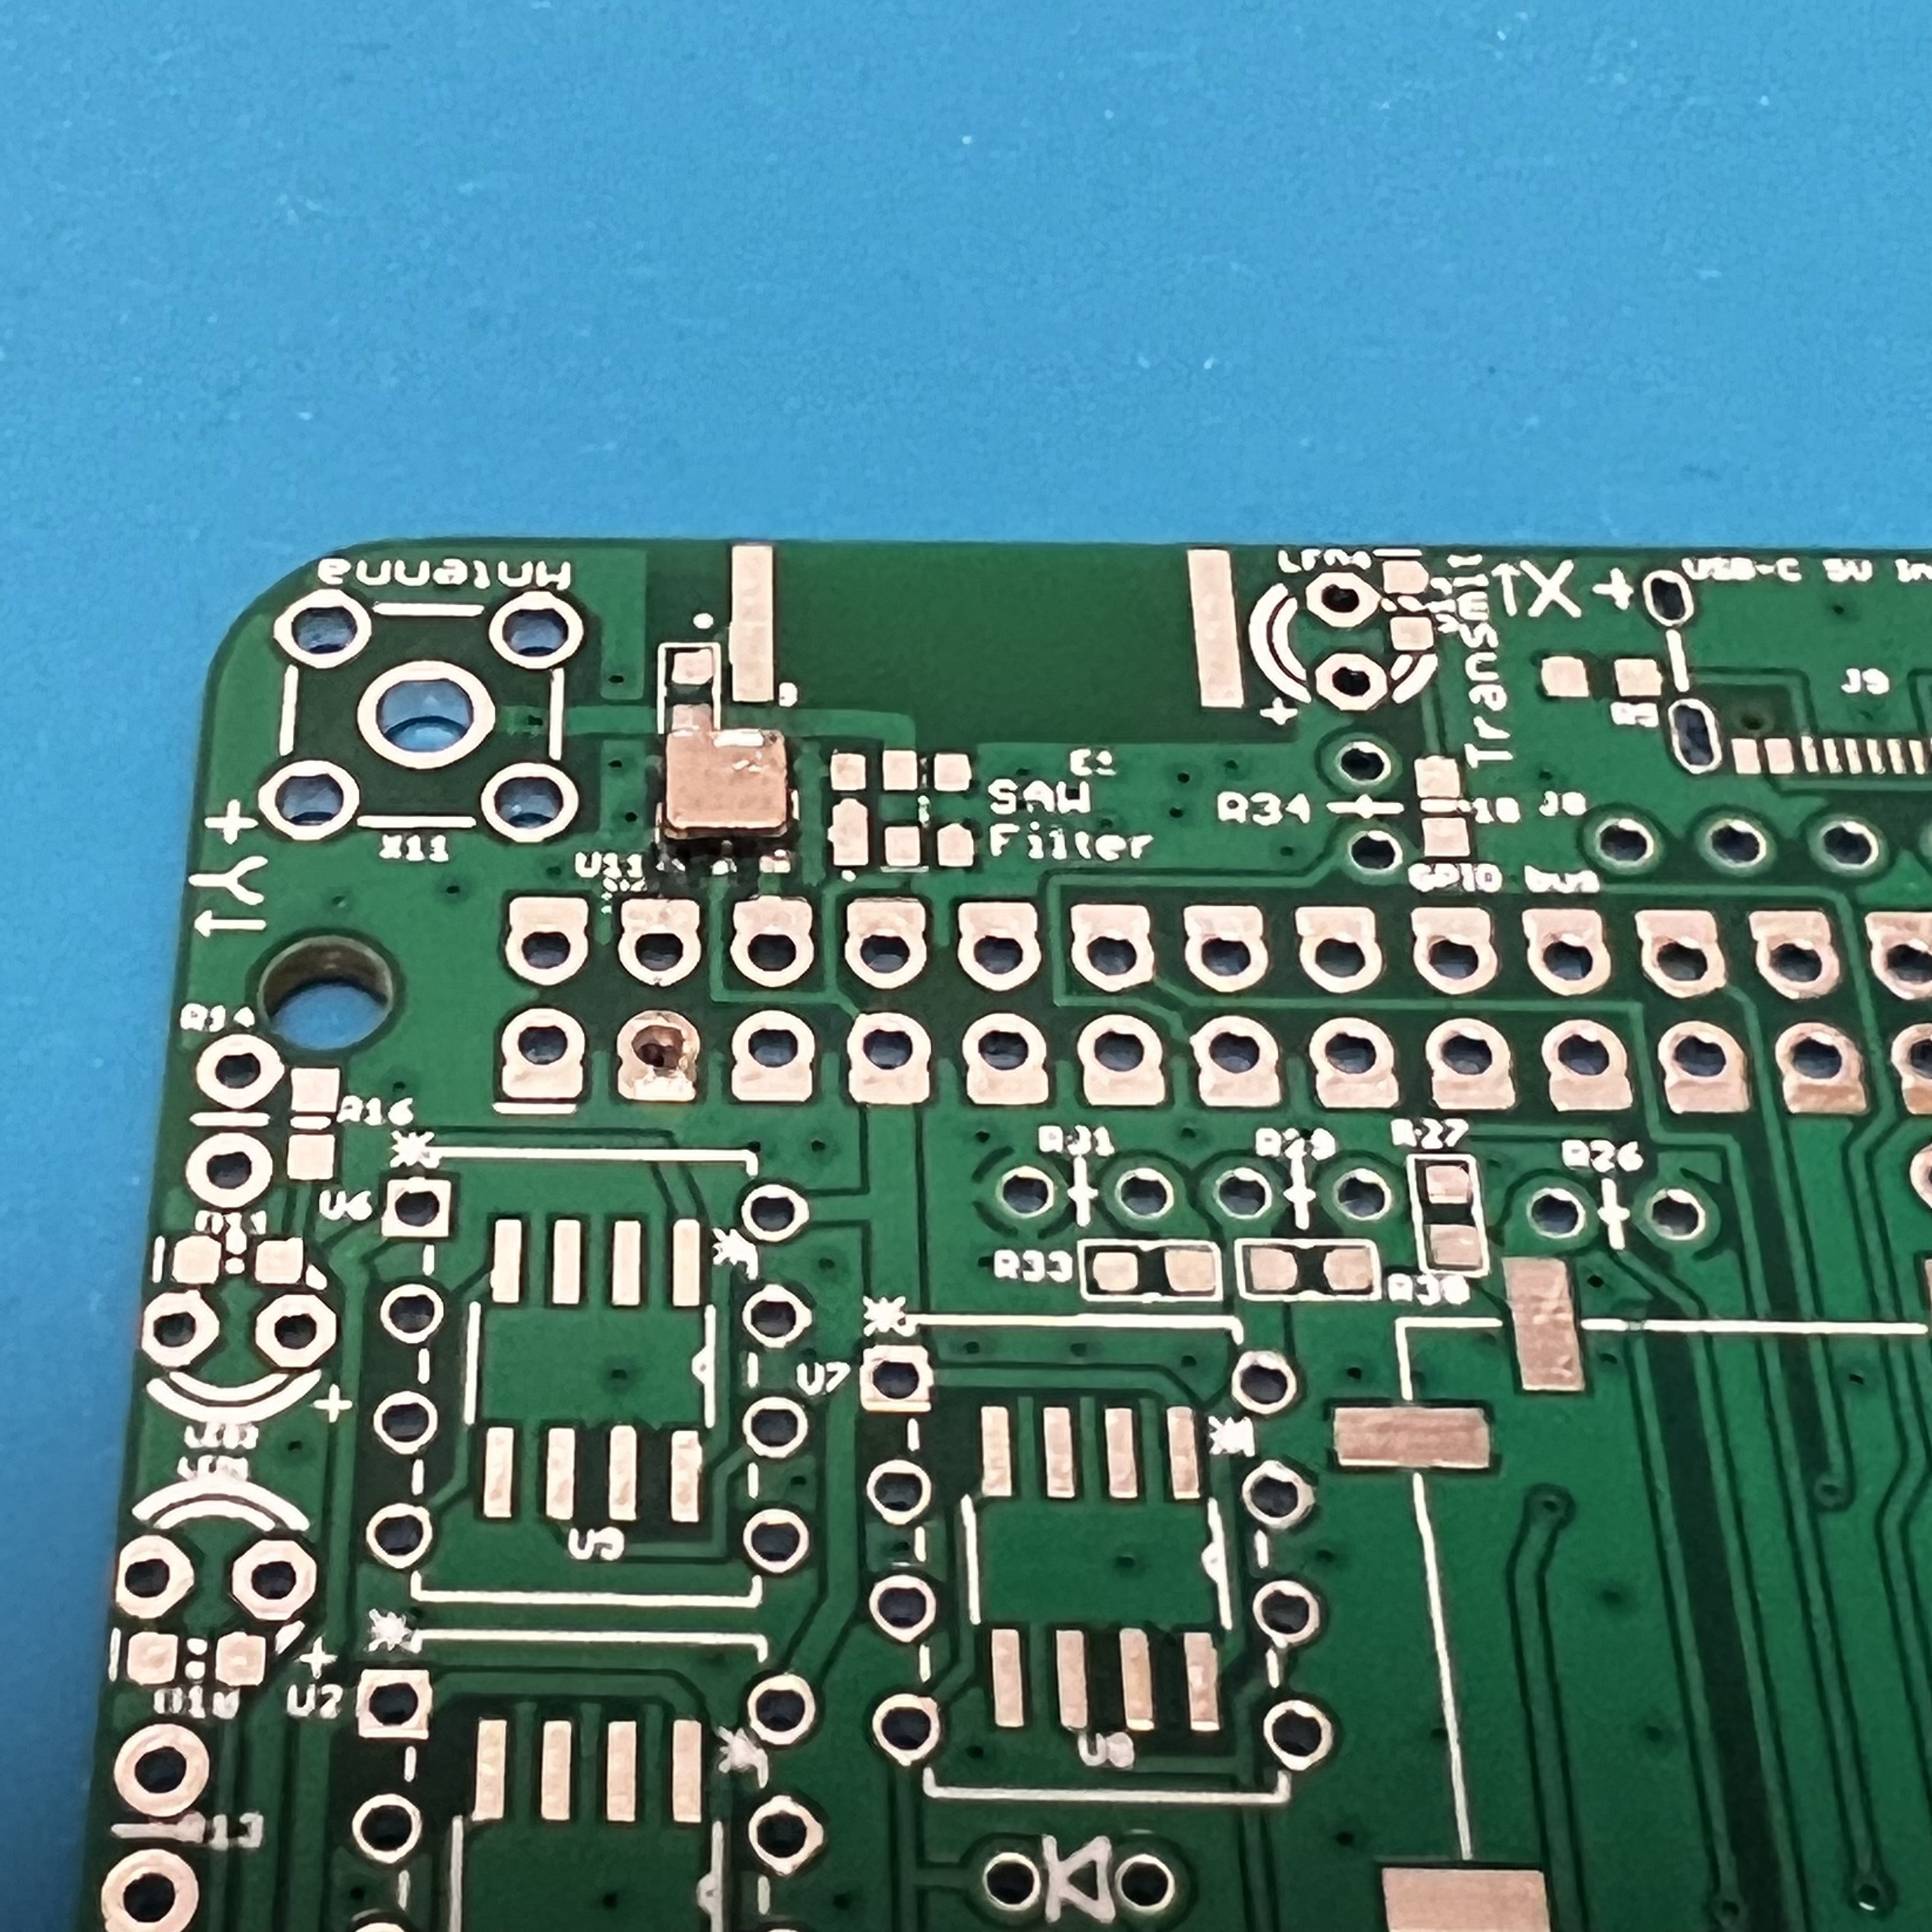
Here is the Pico v0.2 PCB:
First solder the surface mount parts. You will need these tools:
Start with the SAW Filter and the SR_FRS board.
Apply liquid flux to the footprint,
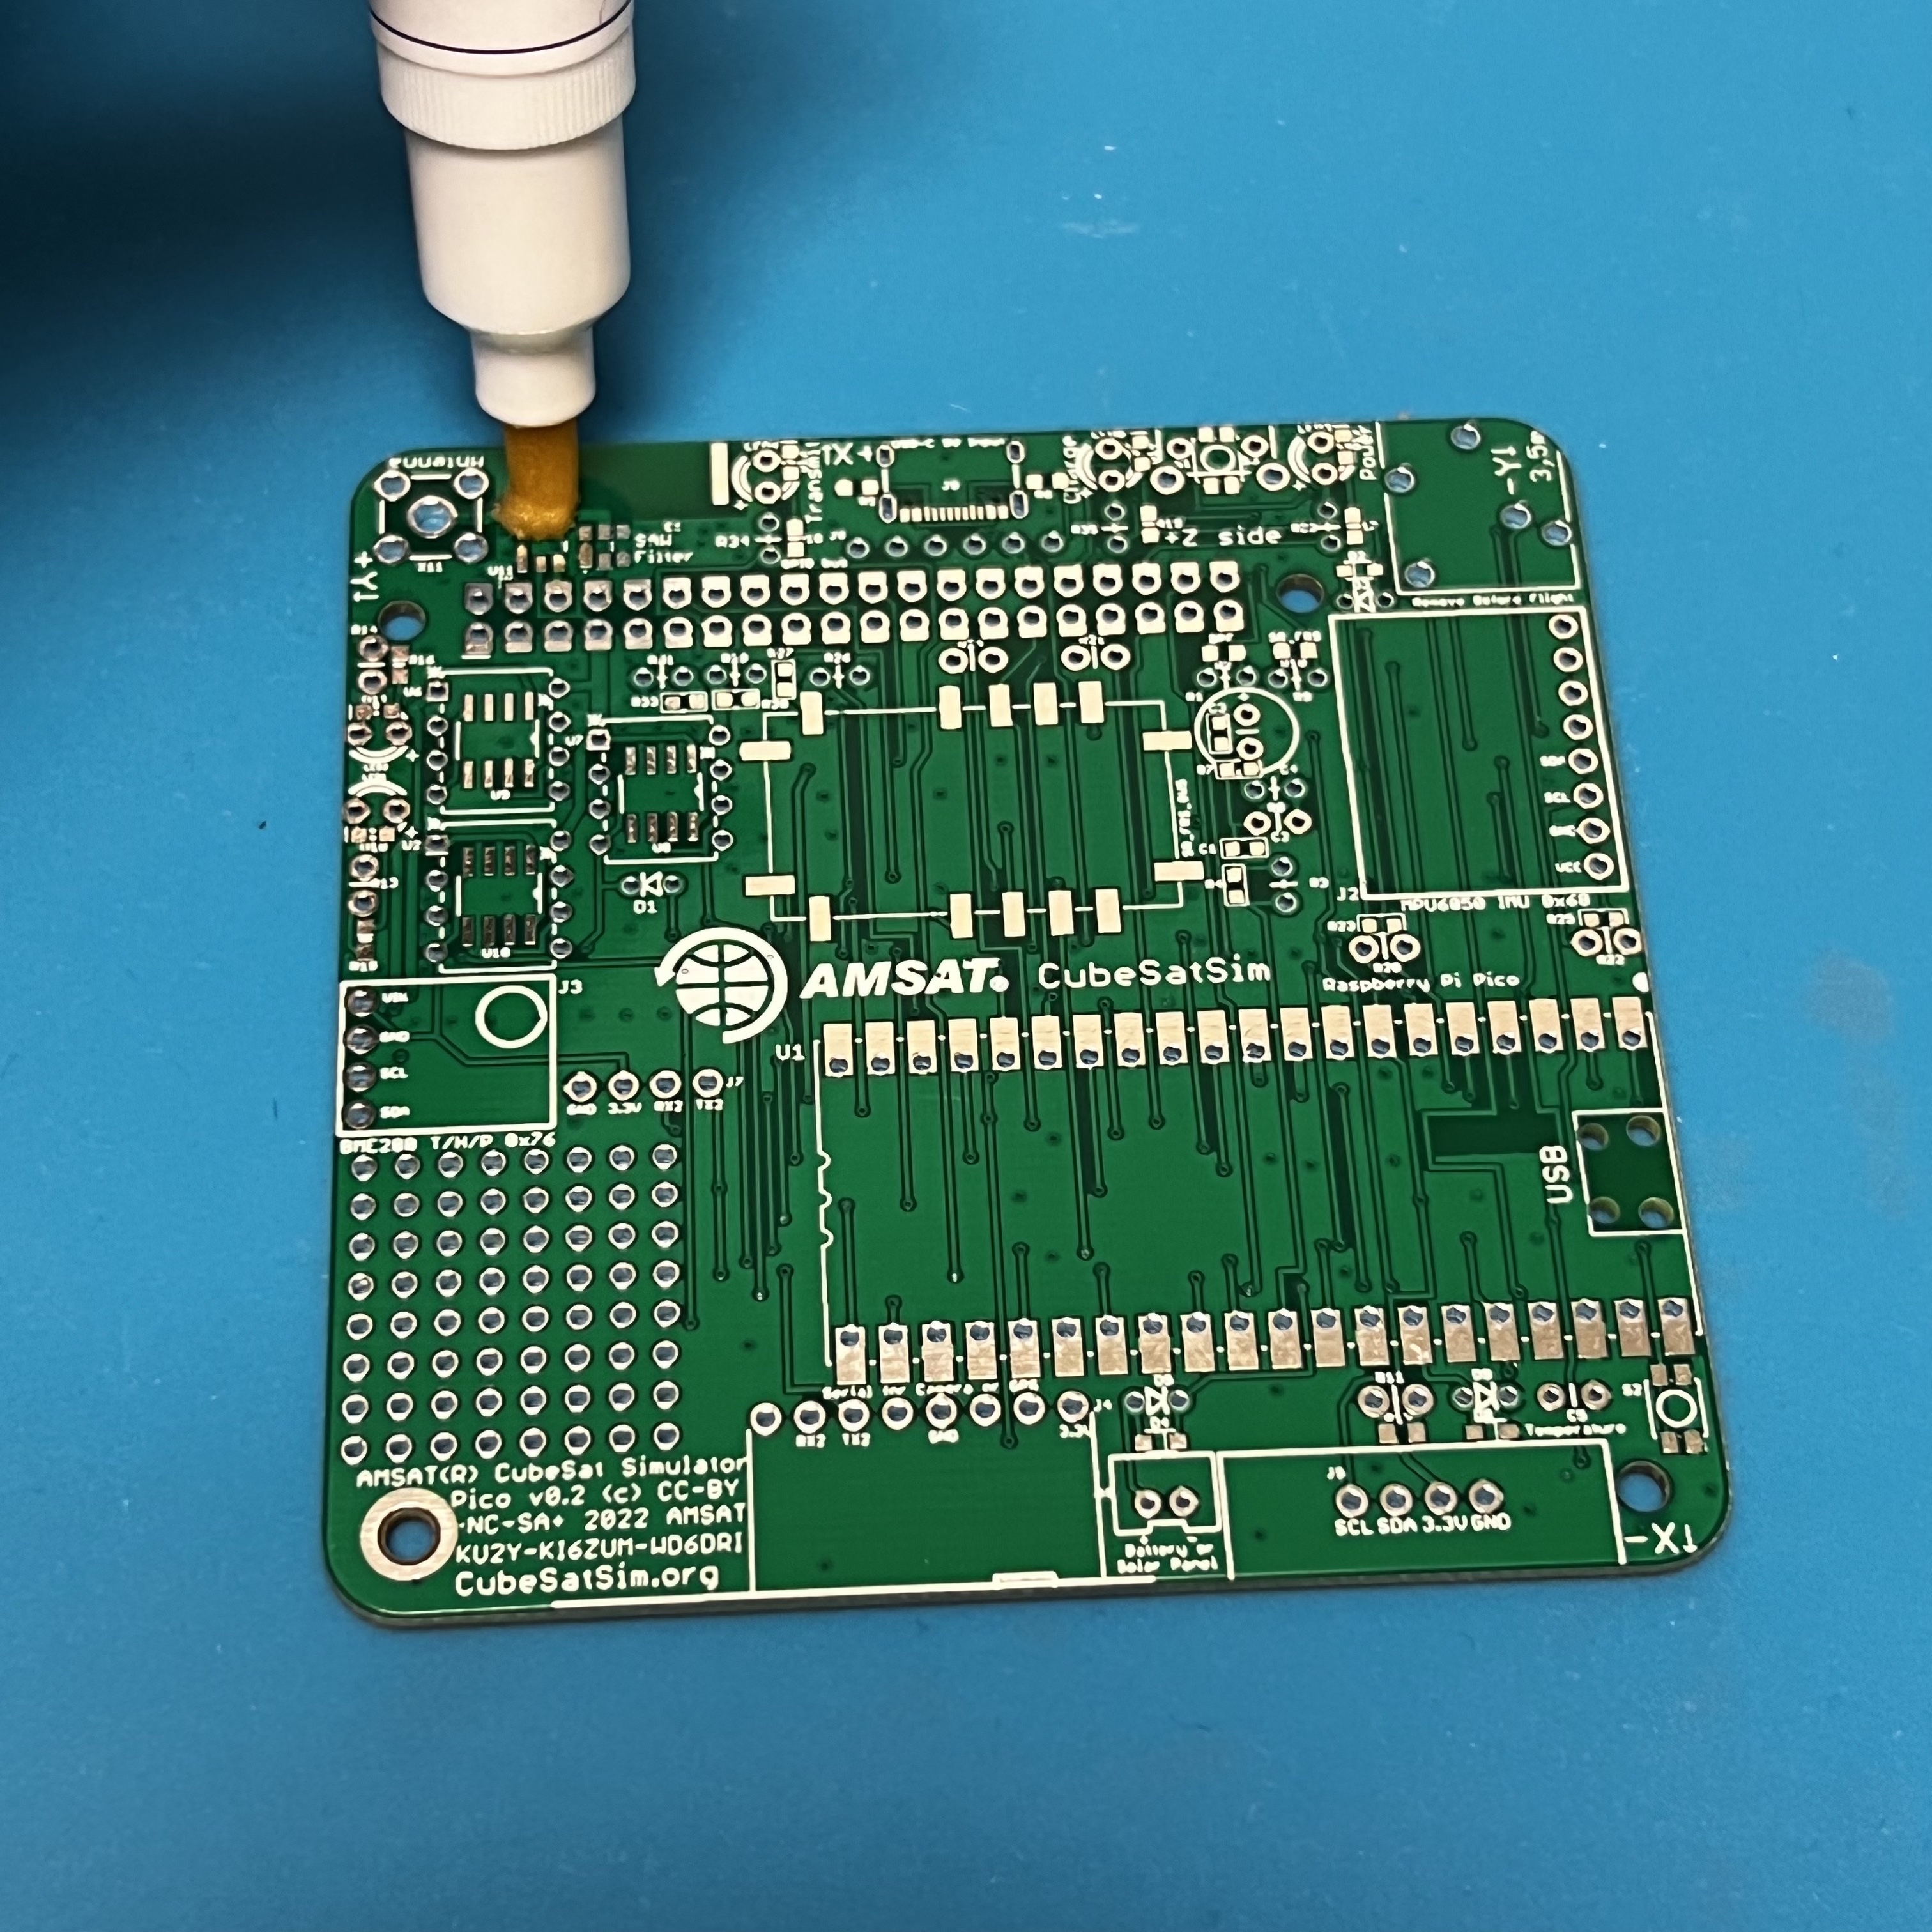
then place the SAW filter with tweezers.
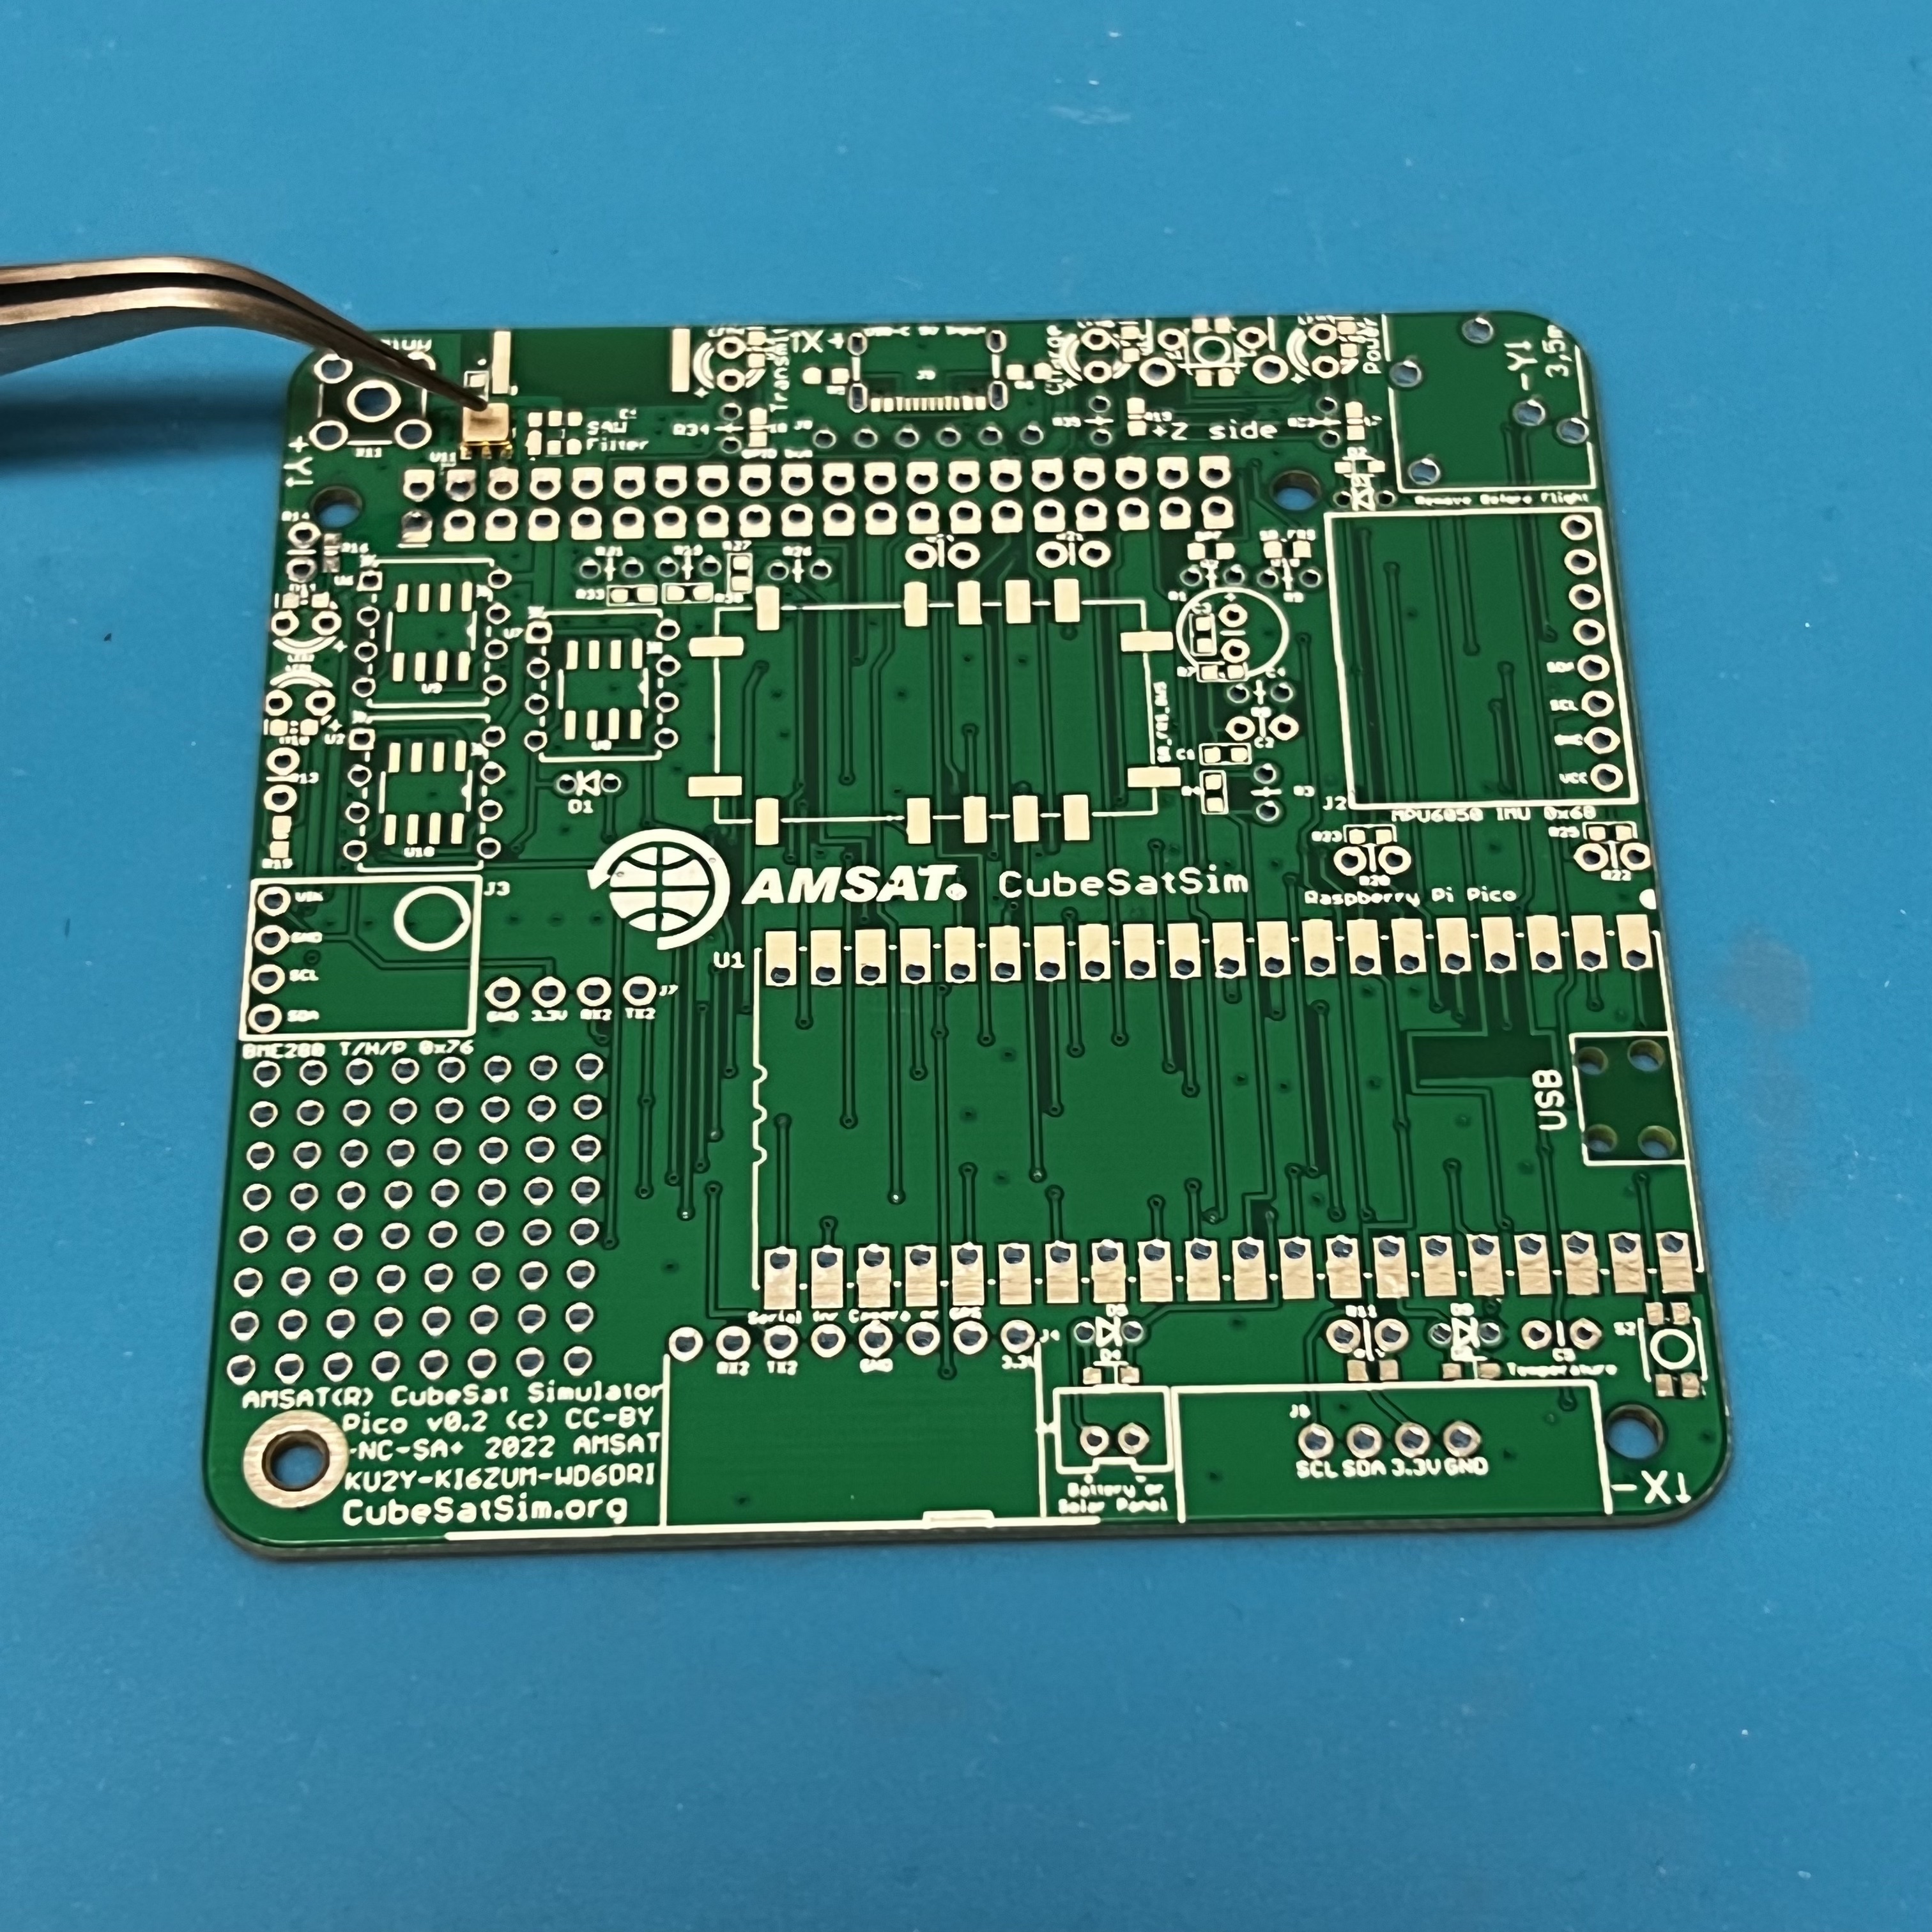
While soldering the first pin, hold the part in place by pressing down with the tweezers. Once one pin is soldered, the part should stay in place as you solder the remaining parts. Be careful not to apply too much solder. If there are any bridges, apply lots of liquid flux then drag the soldering iron across the pins and the bridge should go away.
Next solder the SR_FRS board.
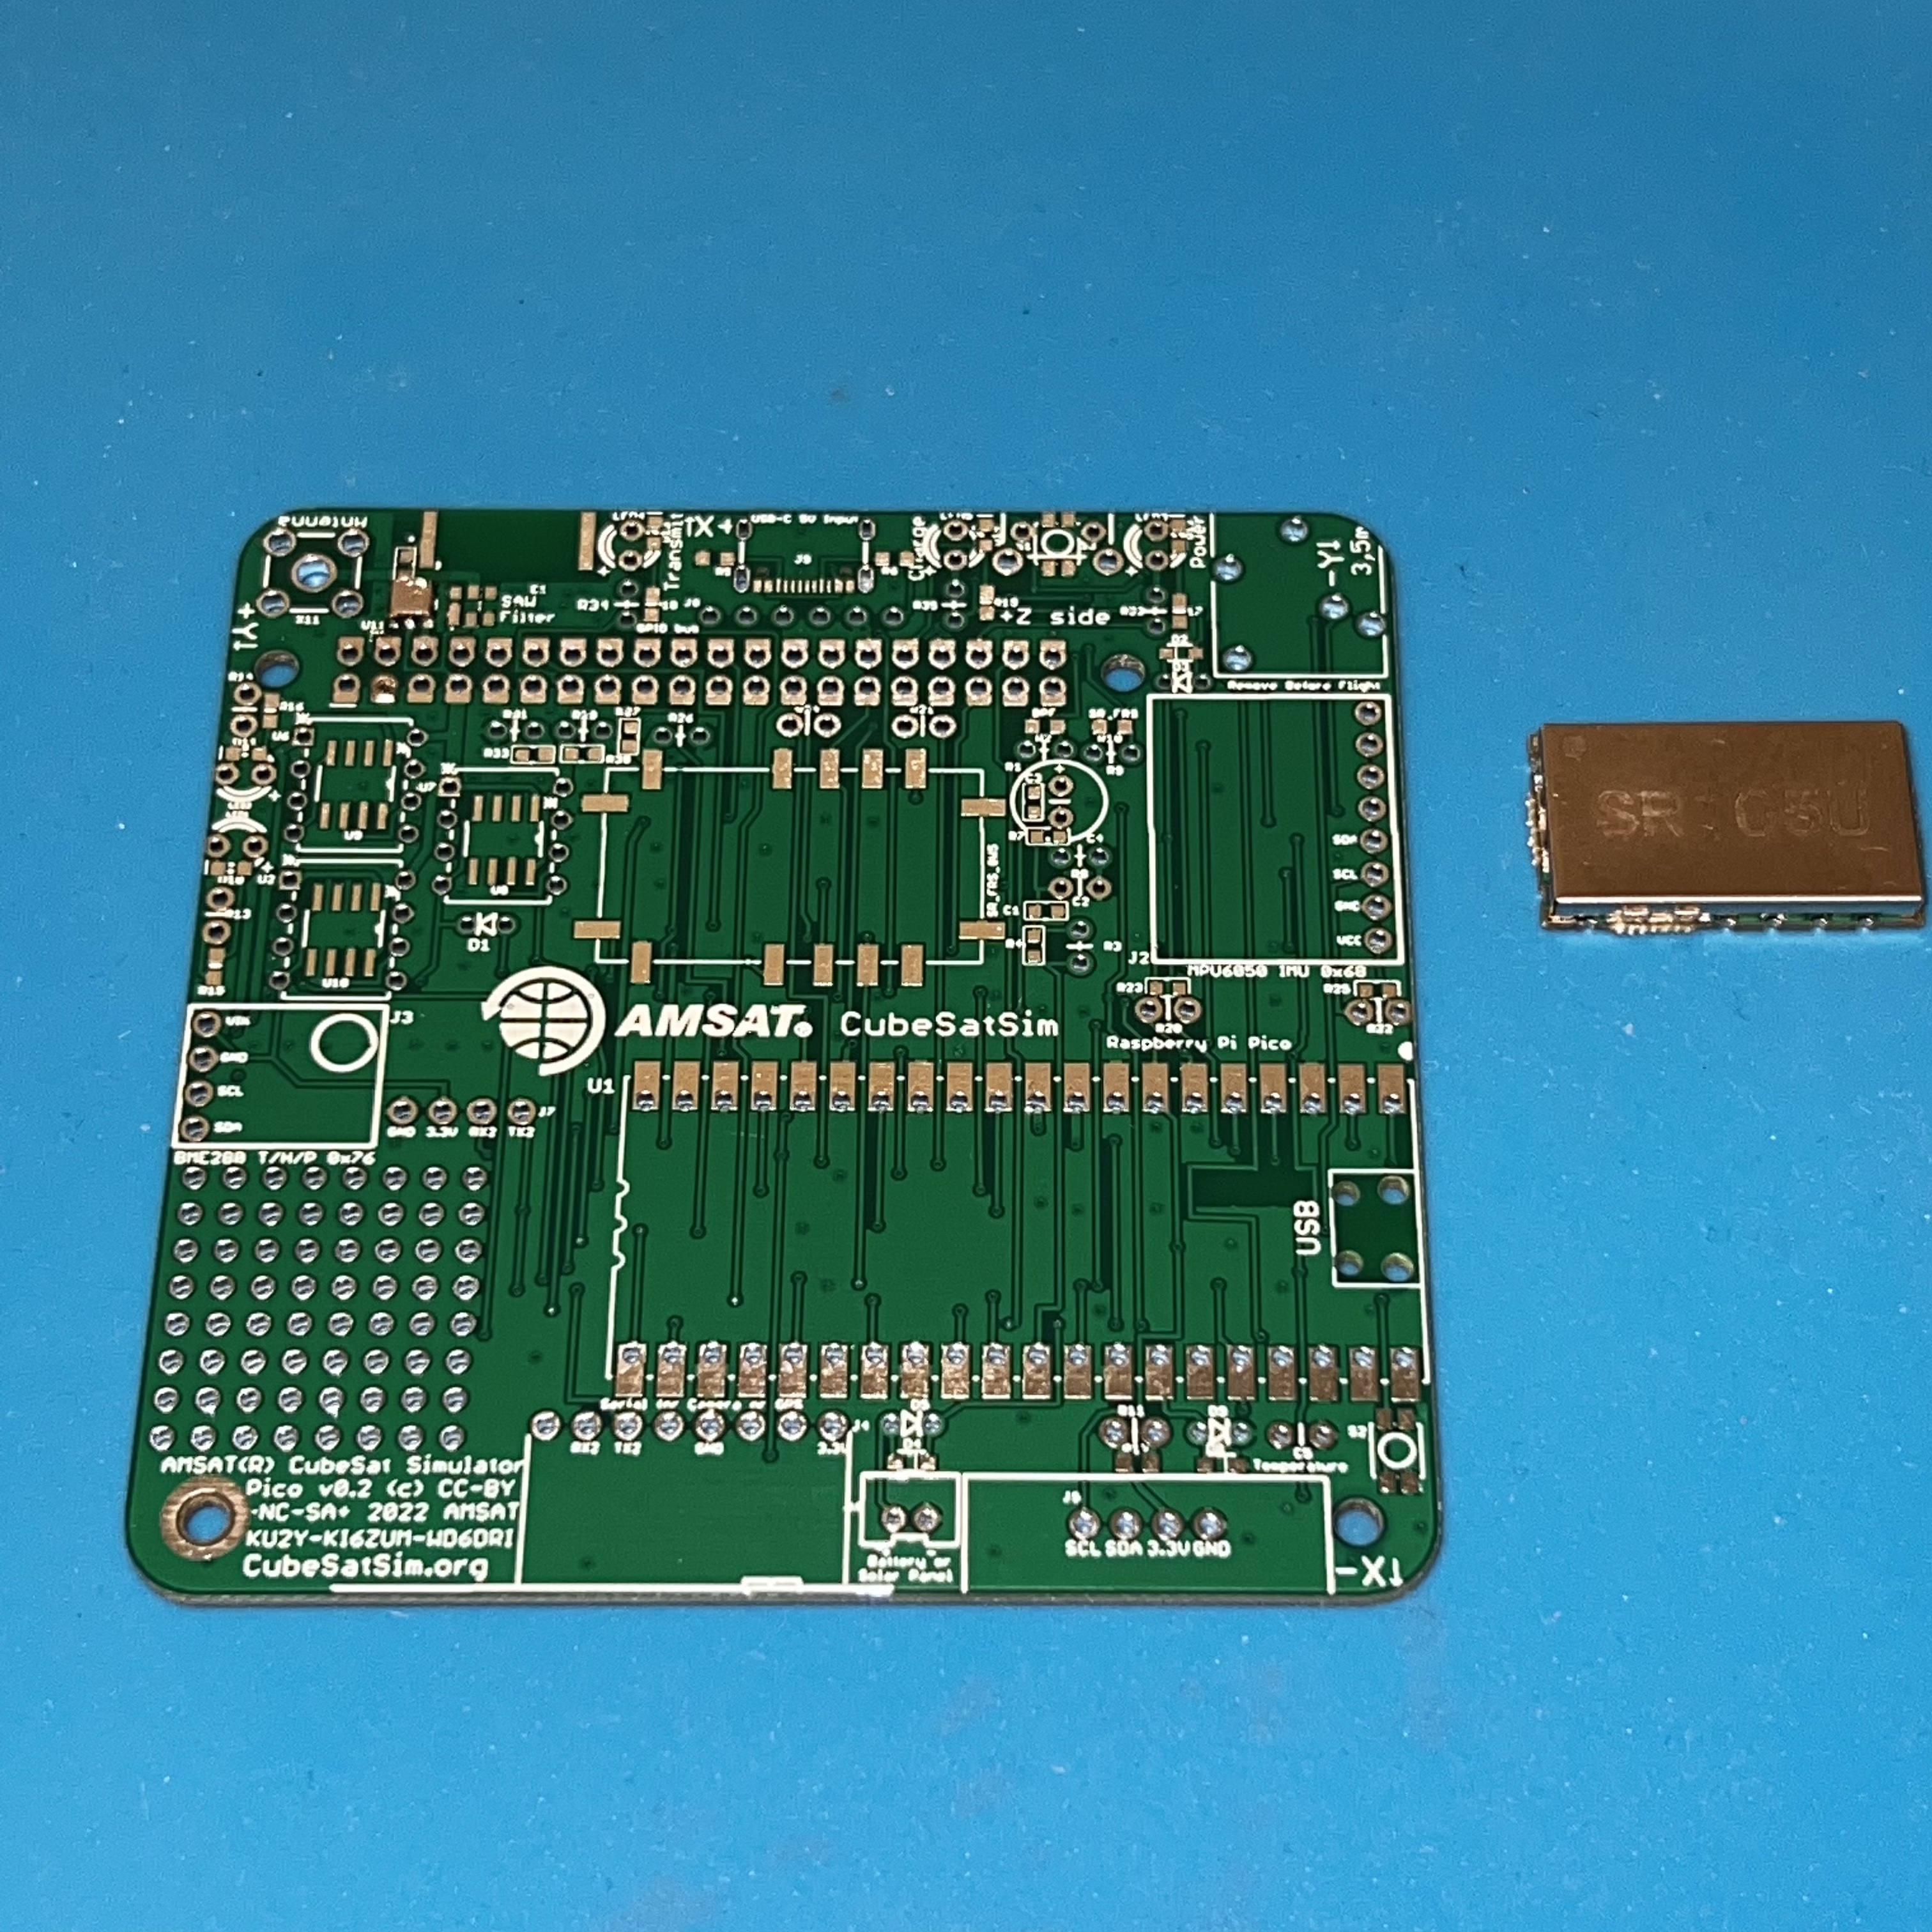
Apply plenty of liquid flux to all pins, then place the part on the pads. Again, solder one pin while holding down the part with the tweezers.