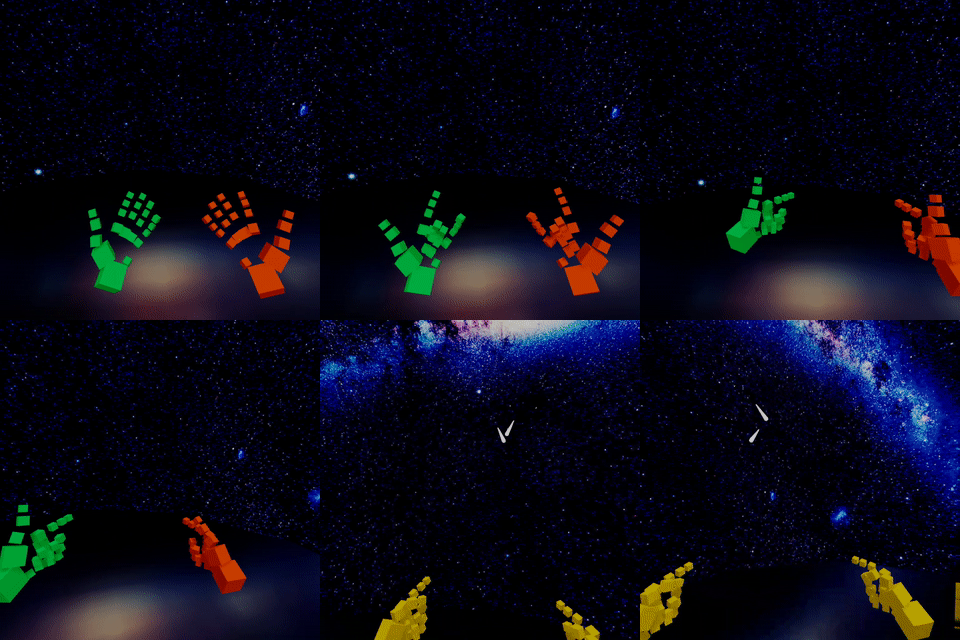
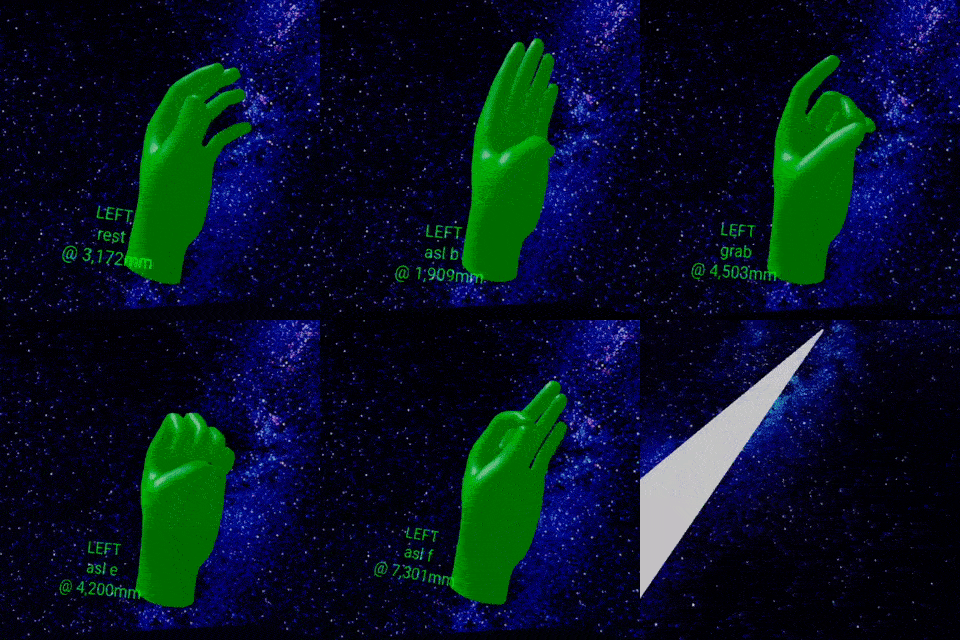
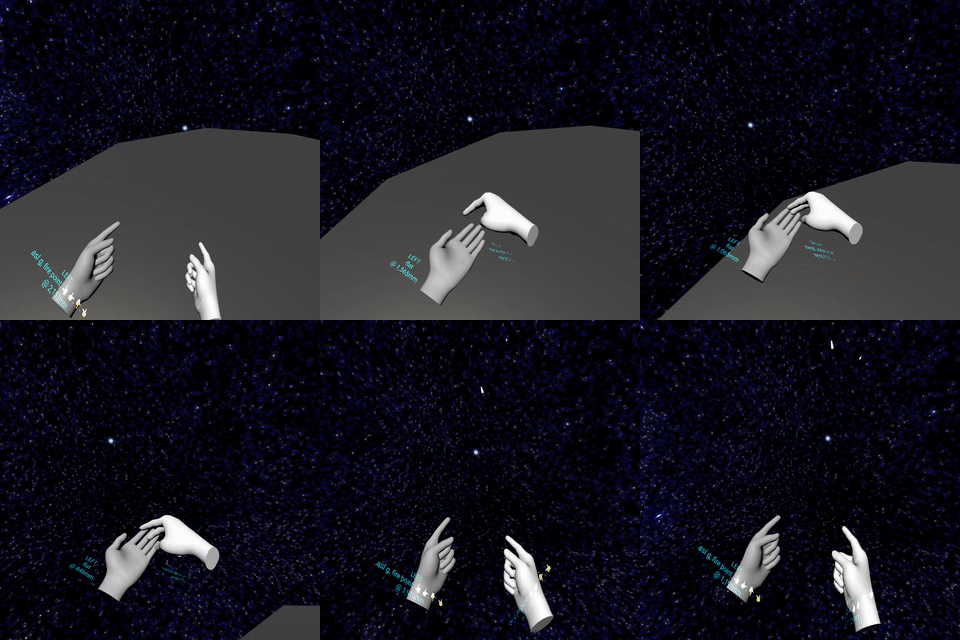
Want to add hand pose recognition to your WebXR project? Handy makes defining and recognizing custom hand poses a snap! Why use hand-held controllers when you can use your bare hands? 👋 Built on Three.js and tested on the Oculus Quest, Handy recognizes over 100 hand poses right out of the box—including the American Sign Language (ASL) alphabet.
UPDATE. May 2021. While a recent overhaul of the WebXR Hands API had temporarily broken Handy, we are once again 100% functional 👍 Curious what happened? See this issue for more details.
Explore the demo. 👉 Make your hand into a “finger gun” pose, then tap your thumb down onto your middle finger to shoot lasers from your hand. ✊ Make a fist to cycle through different hand model visual styles. ✌️ Make a “peace sign” to toggle the hand-specific colors—red for right, green for left. This demo is live at https://stewartsmith.io/handy and the open-source code repository is available at /~https://github.com/stewdio/handy.js.
Pose vs. Gesture. You may notice we use the term “hand pose” rather than “hand gesture” and that’s because “gesture” implies movement over time and a spatial relationship to the body or other objects. Right now Handy is primarily concerned with the basic pose of a hand’s configuration. But it’s still early days—and yes, full hand gesture recognition is on the roadmap 👍
Three.js already does the heavy lifting by
interacting with the WebXR hand tracking
API, creating a
THREE.Group per
each joint within a hand model, updating those joint positions /
rotations within its own update loop, and even creating multiple visual
models to use. (See Three’s VR hand input profiles
example and
its source
code
for details.) But Three doesn’t include an easy way to define and listen
for hand poses. Here’s how easy it is to “Handify” an
existing Three.js hand input example:
//  Use Three.js to hookup hand inputs:

hand0 = renderer.xr.getHand( 0 )
hand1 = renderer.xr.getHand( 1 )


//  Now use Handy to “Handify” them:

Handy.makeHandy( hand0 )
Handy.makeHandy( hand1 )


//  Which one is which?
// (We won’t know until the browser returns tracking data.)

handLeft = Handy.hands.getLeft()
Put this one command in your animation loop to update all handified objects.
Handy.update()
And that’s it. You’re good to go 👍
Handy provides an isPose method on each hand which expects a
pose name as an argument. It returns false if the live hand data does
not most resemble that pose, or returns a search result object (which
includes a reference to the pose definition data as well a distance
property representing the
Euclidean distance)
if the live hand data does indeed most resemble the indicated pose.
const isPeace = handLeft.isPose( 'peace' )
if( isPeace ){

	//  Do something the entire time
	//  that our hand most resembles
	//  a “peace” pose.

	//  For example, let’s log
	//  the Euclidean distance
	//  of that search result.

	console.log( isPeace.distance )
}
An optional second argument, a Euclidean distance threshold, follows a similar pattern as above, but does not require that the pose be the top search result. Instead the pose must be closer than the supplied distance threshold.
if( handLeft.isPose( 'peace', 3000 )){

	//  Do something the entire time
	//  that our hand resembles
	//  a “peace” pose
	//  within a Euclidean distance of
	//  less than or equal to 3,000 millimeters.
}
Handy also fires events on the handified object itself to inform you the moment a pose appears or vanishes.
handLeft.addEventListener(

	'peace pose began',
	 function( event ){

		//  Do something when the
		// “peace” pose appears.
	}
)
handLeft.addEventListener(

	'peace pose ended',
	 function( event ){

		//  Do something when the
		// “peace” pose vanishes.
	}
)
The content of the passed event argument is:
{
	type,    //  Event name, eg. “peace pose began”.
	hand,    //  Hand object itself.
	pose,    //  Pose definition data.
	distance,//  Euclidean distance between live hand pose and this pose.
	message  //  A human-readable description of the event,
	         //  eg. “LEFT hand peace pose began”.
}
-
First, you will need to enable remote debugging for your Oculus Quest. See Oculus’ guide to enabling remote debugging.
-
To make Handy accessible from your JavaScript console you must create a globally accessible reference to it in your code. For example, this demo declares
window.Handy = Handy. -
Now from your JavaScript console you can record a new pose with something similar to the following:
Handy.hands.getLeft().recordLivePose( 'my pose name' ). This will output a pose definition as a JSON string to your console that you can then paste into your pose definitions file. For this demo the appropriate location would be./scripts/Handy-poses-left.js. This command will also add the pose into that hand’s pose library immediately—so your code can make use of that new hand pose in the very nexthand.search()call.
Example
//  Pose your left hand into the Vulcan
// “Live long and prosper” salute,
//  then hit enter on the following in your console:

Handy.hands.getLeft().recordLivePose( 'vulcan' )


//  Handy will return a snapshot of the pose.
//  Note that the position measurements are in millimeters
//  relative to the wrist joint position.

{"names":["vulcan"],"handedness":"left","handyRevision":4,"time":1598280104572,"headPosition":[-1156,5370,-2368],"headRotation":[-3.700743415417188e-17,0,0,1],"jointPositions":[[0,0,0],[32,10,-32],[51,14,-58],[77,18,-79],[90,18,-100],[41,9,-16],[96,7,-24],[132,20,-24],[154,29,-24],[176,34,-22],[41,9,-3],[96,3,-2],[134,21,-5],[159,33,-6],[183,39,-7],[38,9,8],[89,7,17],[123,23,27],[146,35,33],[168,43,39],[34,9,23],[78,14,35],[107,16,44],[123,29,46],[141,40,47]],"digitTipPositions":[[90,18,-100],[176,34,-22],[183,39,-7],[168,43,39],[141,40,47]]},
Note that the names property of a pose definition is an Array. One
pose can have many names. Multiple poses can share the same name.
Handy is quite flexible and will automatically create all of the
necessary began, ended, and changed events for whatever poses
you provide it.
Oculus Quest has trouble with digit overlaps as illustrated by the American Sign Language (ASL) poses for M, N, R, T, X, and so on. This is a limitation of the tracking on Oculus’ side so there’s not much we can do about that for the moment. Take heart though: the folks over at Oculus have been making huge strides in what is a difficult technology to wrangle, and I imagine stuff like this is on their to-do list already.
It’s cleaner, more legible, and easier to debug when you write logic
once and reuse it rather than copy and paste it multiple times. This
quickly comes into play when dealing with hands; we often must apply the
same logic to two things at once. One clean way of doing this is using
an Array literal to house the two hands, then use the Array’s
forEach
method to operate on each hand in turn. Note the semicolon prefix before
the Array literal. JavaScript does not require semicolons as line
endings and I do not believe in using them as such because they are
merely typographic
clutter.
Because of this it’s somtimes necessary to include a semicolon ahead of
an expression beginning with an Array literal to ensure the
interpreter does not mistake the literal for a property accessor for a
preceding object.
;[ handLeft, handRight ]
.forEach( function( hand ){

	hand.addEventListener(

		'peace pose began',
		 onPeacePoseBegan
	)
	hand.addEventListener(

		'peace pose ended',
		 onPeacePoseEnded
	)
})
This code has been designed for the Oculus Quest headset, though device support will expand as more devices implement the WebXR hand tracking API. Be sure your Oculus Quest has all of the latest software updates installed, including Oculus Browser 15.3.0 or later, then follow these steps to experience the demo for yourself:
-
In the main Settings menu navigate to Device → Hands and Controllers. Enable both Hand Tracking and Auto Enable Hands or Controllers.
-
In Oculus Browser visit chrome://flags/ and search for “hands” in the flags search box.
-
Within this flags page, set the “WebXR experiences with hands tracking” flag (
#webxr-hands-tracking) to Hands and pointers. -
Again, within this flags page, set the “WebXR experiences with joints tracking” flag (
#webxr-hands) to Enabled. -
Restart Oculus Browser and visit this demo again. Use your hand controllers to click the “Enter VR” button. Once you are inside the experience put your controllers down, hold your hands out in front of you so that the headset can see them, and enjoy! 👍
I’m Stewart. These days I make WebXR things and quantum computing things from my home in Brooklyn, New York. Black lives matter.


